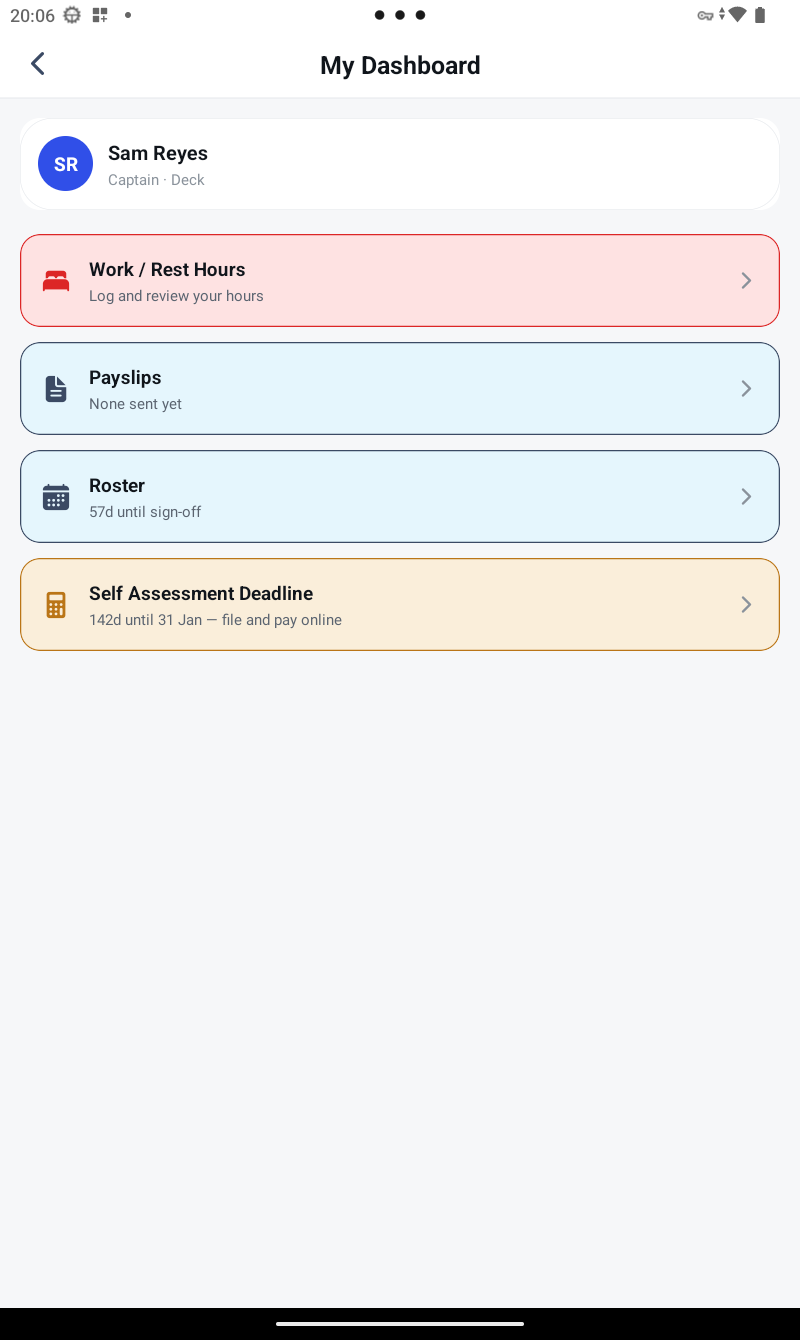
Work / Rest Hours is your MLC 2006 / STCW rest record — a half-hour grid you mark each day, with the rolling-window compliance maths done for you automatically. It only appears once your device is scanned onto a managed vessel (see the My Dashboard entry below).
1. Mark a day
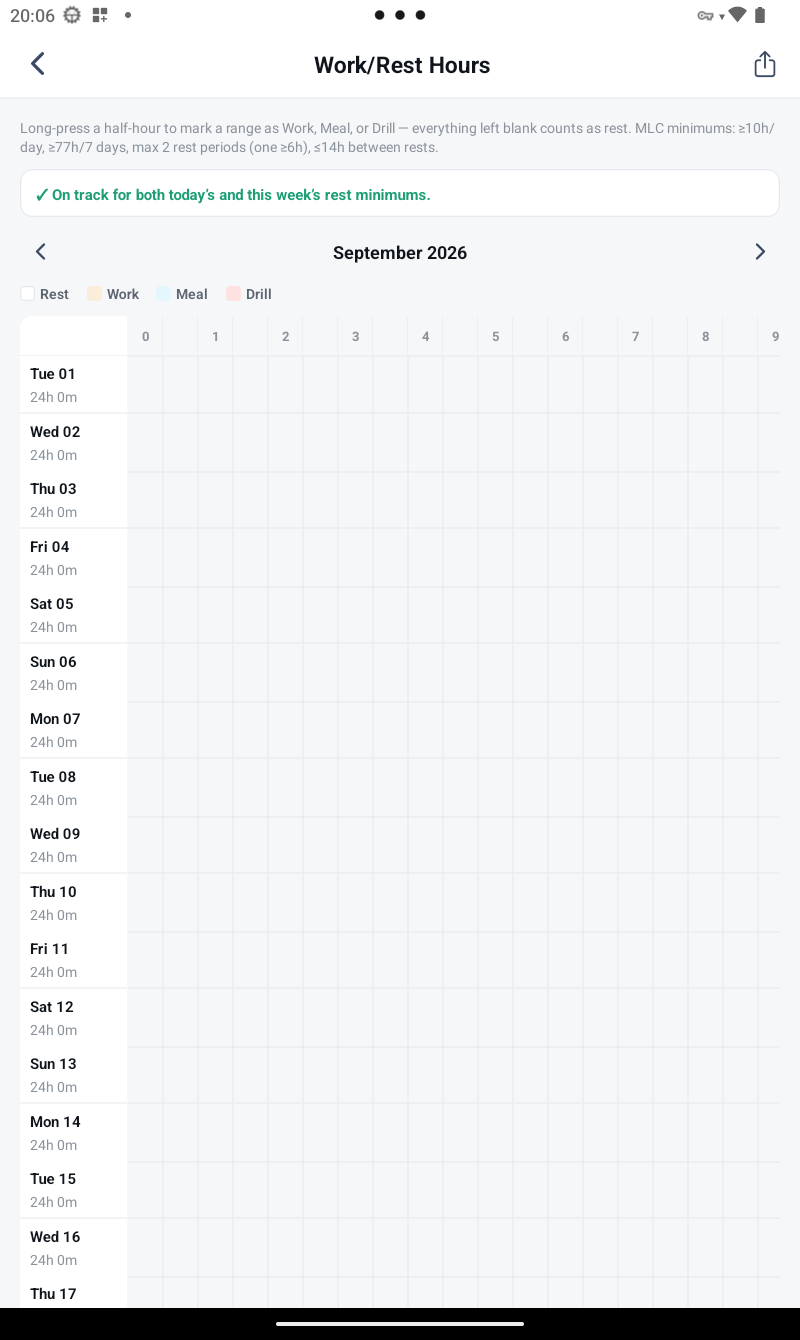
Open a day and long-press any half-hour slot to cycle it between Work, Meal or Drill. Anything left blank is automatically counted as rest — you only ever mark the exceptions, not every rest period.
2. Understand the compliance colours
SeaLog checks your entries against true rolling 24-hour and 7-day windows, not calendar-day shortcuts — the same way an inspector actually assesses compliance. The banner above the grid reads "On track" in green while both today's and this week's minimums are met; it flags amber as a window closes in, and red once a rest requirement has actually been breached.
3. Apply a saved pattern
If you work a consistent rotation, save it once as a pattern and apply it to future days in a couple of taps instead of marking the same shift by hand every day.
4. Emergency override and compensatory rest
If an emergency genuinely requires you to work through a protected rest period, log it as an override — this is flagged for the admin to review, and linked compensatory rest is tracked until it's been made up. Admin sees every reported override across the vessel from the Rest Hours Monitor.
5. Export
Export your record in the official IMO/ILO Model Format at any time — ready to sign, print, or hand to a Port State Control inspector.
Next: see Submitting an Expense.